
Creating Sunlight- Investigation
- Natalia Muñiz Blasco
- Feb 20, 2022
- 3 min read


Hi everyone!
Recently, I have been doing some more lighting research, and I was especially interested in re-creating sunlight (as you might have noticed in my previous lighting research video).
I wanted to share with you the most interesting and complete guide to re-creating natural sunlight. It is very difficult to make and hence I know that I don't have the time or the resources for it, but it might be an interesting project for the future.
Hope you enjoy this post!
xx Natalia
ps: all credit to the creator of the video (DIY Perks channel).
The Two Main Components of Sunlight:
Sunlight is incredibly unique and that is why it is so difficult to achieve. Its main components that make it unique are:
Its distance- the enormous distance that separates us from the Sun means that its rays are almost parallel, which creates the curious effect of shadows that do not change in size when you move closer or far away from the wall where you are projecting the shadow.
The Blue Sky Effect- there are molecules from the sky's atmosphere that bounce off the sunlight, creating Rayleigh Scattering which also makes the Sun look more yellowy, as the blue light has more trouble passing through than red light due to its longer wavelength.
These are the two main things that we need to take into account when re-creating natural sunlight, and this is how it can be done:
Creating Parallel Light Rays:
A lens can create parallel rays due to their curvature like this:

This is the principle used in the video- using a big 'lens' that can reflect parallel rays when a light is shone on it.
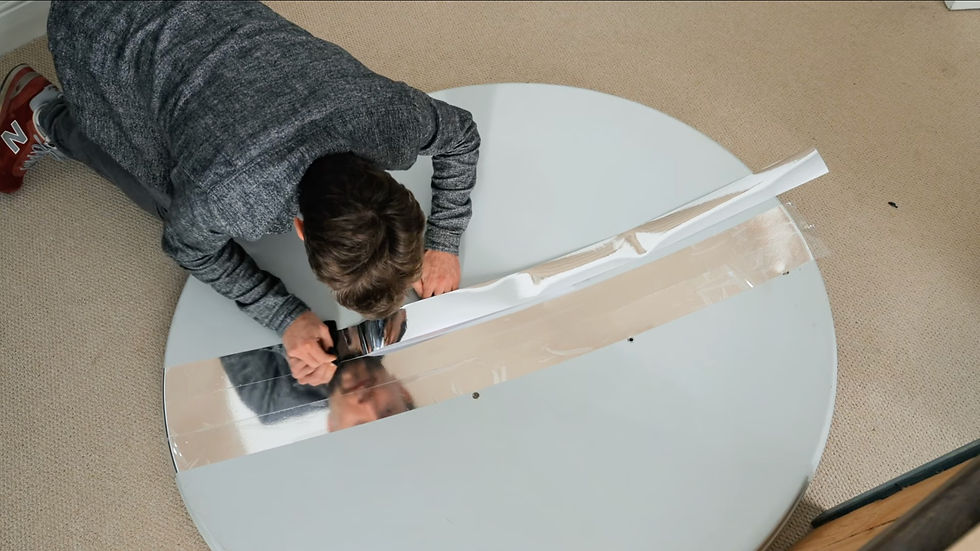
However, how can you find such a big lens?
It turns out that might not be so hard, as you can use satellite dishes as a type of parabolic reflectors! The only thing you need is a big one (in the video, he uses a 1.2m diameter one), and some vinyl mirror effect film to create that reflecting aspect for the light.

Sorting Out a Light Source:
This is one of the harder parts of the video, as he recommends to use a "high-power LED" with a CRI of 90-95 and a colour temperature of 5600K.
These need a cooling mechanism attached when used, but he uses an ever more powerful one, with 500 Watts of power. Therefore, he needs to build a water-cooling system to attach to the light.


This part is one of the one that put me the most off of attempting such a complex project, between the wooden tripod, the complex water cooling system, etc. However, it is impressive how he manages to sort it out in the end!
Creating the Blue-Sky Effect:
The Blue-Sky Effect can be achieved through the use of nanoparticles or, much cheaper and practical, using a bar or blue soap and dipping it in distilled water.
Of course, as everything in this project is large-scale, he creates a double-glazed window style feature with the air gap filled with distilled water and soap. He installs this into a feature that he creates as a substitute wall where the square "window" filled with water acts like a real wall and window in the hole of the door.
Once injected into the "window", the mixture takes 24 hours to settle down, and afterwards, the magic is ready to happen- the light is placed outside the room and shone through this window feature, creating an incredibly believable sunlight effect.


This is another of the very complicated parts of the video which put me off of trying this myself, but it is impressive how he manages to build the infrastructure around the light as well as the light itself in order to achieve a realistic effect of sunlight.
Full Video:
Lessons Learnt from the Video:
It was very interesting to watch this video and reflect upon it. I learnt the two main components of how sunlight works (the sense of huge distance creating parallel rays and shadows that don't change size, and the blue sky effect that gives the Sun its yellower tones).
I also learnt that the principles of replicating sunlight are not that complex, only that they take some infrastructure to think about, and perhaps for the future I will try to build this kind of apparatus myself!
Stay tuned for my next post!


Comments